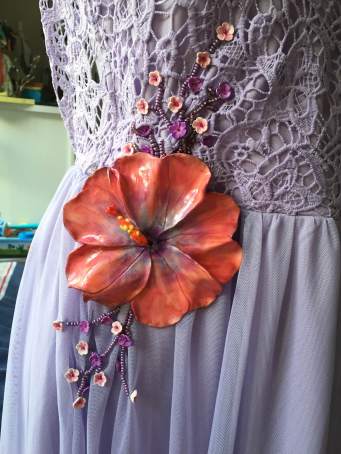
I looked on my agenda with projects that I intend to do someday and I found a note about applying a Polymer clay flower on a dress and “complementing” it with beads. So, I said to myself this is the best time to try this idea out.
I had the perfect dress for the project. When I bought this dress, I immediately thought that it lacks some beads….and beads, I have!
I had the little flowers beads that I have made for the Magnolia necklace, but decided not to use them in the idea that for that necklace the idea of Less is More was the best choice.
I thought a little bit of the flower and decided to go for a Hibiscus flower (I wanted it to be in harmony with the color of the dress, but the Triple Thick Varnish changed the colors – this is the second time I notice this effect – it happened like that with the Polymer Clay magnolia which was more pink when I painted it with pastels, but the Triple Thick Varnish changed a lot its appearance).
This is going to be a longer process, still I hope you will find it interesting.
Materials and tools used: white Fimo Professional polymer clay, petal cutter, flower cutter, a round cutter, pastel colors, ball tool, a toothpick, seed beads, 2 jewelry ball pins, E6000 jewelry glue, Liquid Fimo, Fireline and Triple Thick Varnish.
I cut a round base.
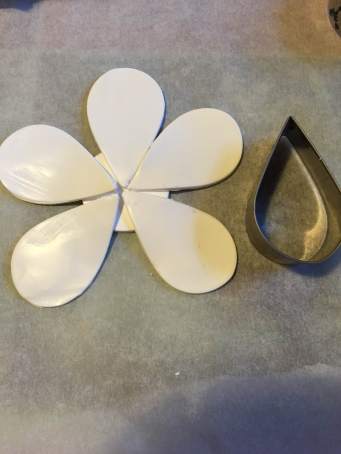
I cut 5 petals initially. Then I considered that I wanted a wider petal, so I joined two petals together.
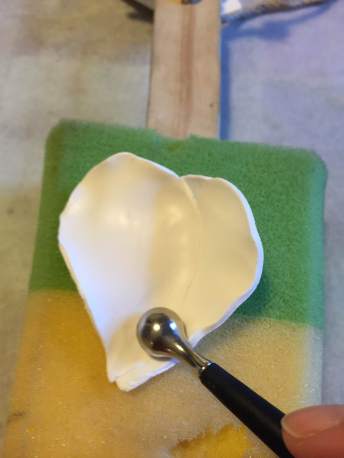
I pressed well on the part where the petals are joined together and then I continued to shape the petal.
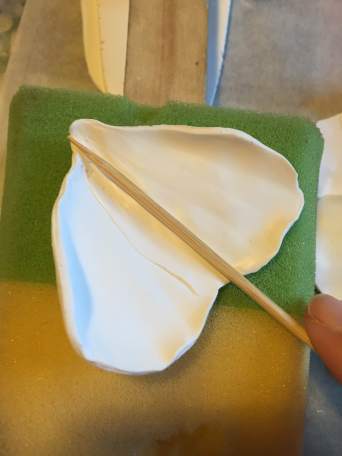
I textured the petal with a toothpick.
I started adding the petals all around, the second on top of the first, the third on top of the second and so on.
I pressed really well in the middle of the flower.
I pressed to join the petals close to the base of the flower.
I made a hole in the middle and two holes on the circular base underneath the flower (so as to be able to sew it to the dress).
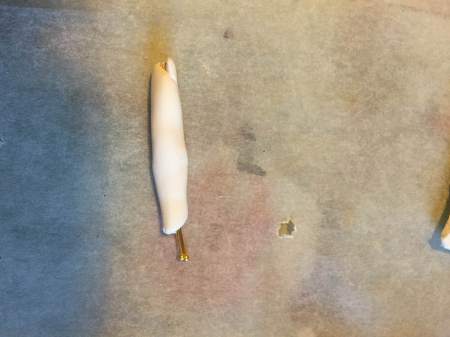
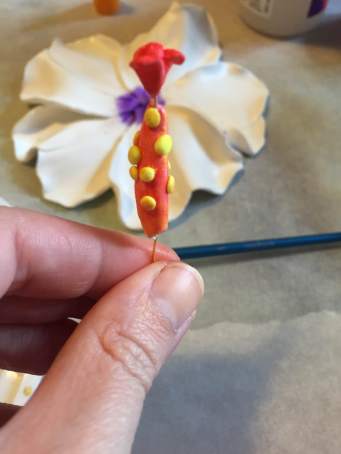
I wrapped two pins in polymer clay.
I made three little petals.
I put them on the pins.
I made little balls.
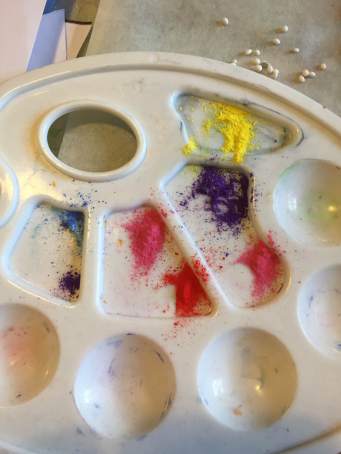
I prepared the pastels.
I colored the little flower and the base with red pastel color.
I colored the little balls and applied them on the pistil (after adding Liquid Fimo and pressing firmly).
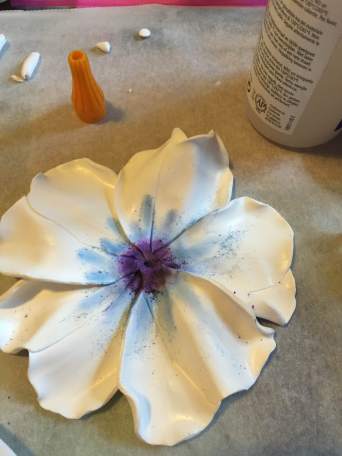
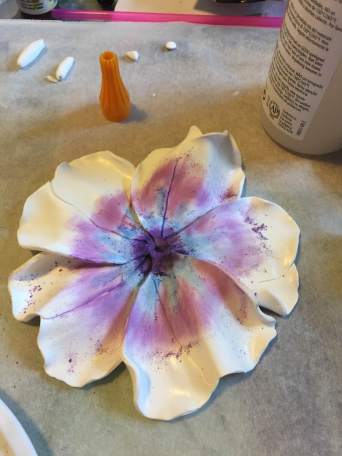
I started to color the flower.
I added Liquid Fimo in the middle of the flower and then put the pins through the flower and bent them with the pliers on the back.
I curved the pistil and approached it to the flower.
I bake it according to the polymer clay manufacturer’s specifications.
I varnished it with Triple Thick Varnish and the colors changed.
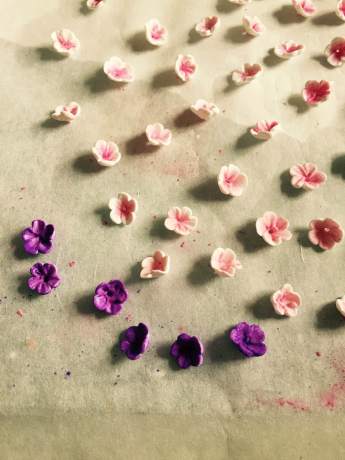
This is how I made the little flowers.
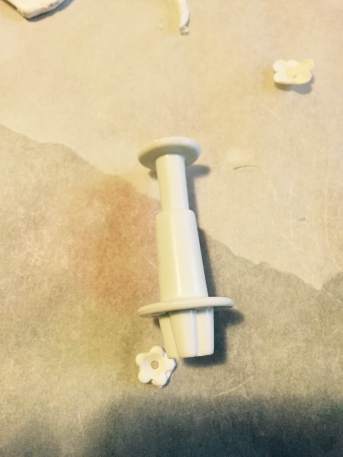
I cut a flower shape with the cutter.
I flattened it with the ball tools.
I textured it using a toothpick.
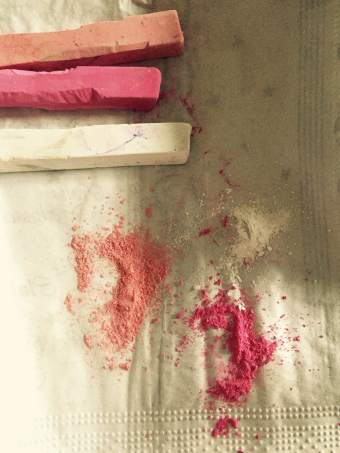
I prepared the pastels.
Then I decided to make some violet flowers as well.
This is the dress before.
I prepared several colors of seed beads.
I started sewing the beads using Fireline. I made a knot on the back, pulled the thread through the fabric, strung the flower bead, then added a seed bead and then went back through the flower bead to the back of the dress.
I started adding seed beads (6 or more), sewing them to the fabric and then going back through the last 3 beads (like in bead embroidery) It is called back stitch and you can see a tutorial on Beading Daily: http://www.beadingdaily.com/glossary/bead-embroidery.aspx
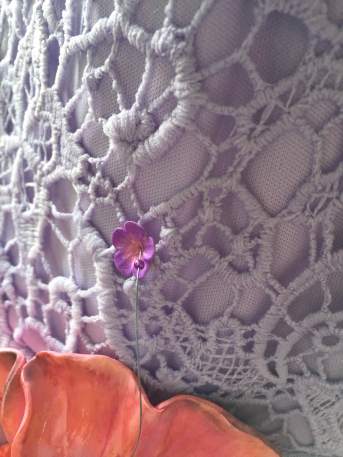
I sew the hibiscus flower and added also some E6000 jewelry glue (to make sure it will stay there).
I embroidered the area underneath the hibiscus flower.
Whew. It’s finished!
I want to thank http://www.bestcardmaking-downloads.com/free.aspx for the wonderful free watercolor background (Watercolor and Script Paper).
Thank you for reading me!




















This really turned out beautiful! I love hibiscus flowers. Wonderful tutorial and it really shows all the work you put into this project!
Thank you very much, Janell! I love hibiscus flowers as well! When I try to find an idea for a polymer clay flower, I think first of the flowers I prefer. This is why I have chosen the hibiscus flower. Best wishes! Mihaela
I wanted to add that I love the result of putting together the Australian paper bark (which is something I discover now through your art work) and your fairy painting! http://janellmithani.com/2014/08/27/a-tree-fairy-painting-on-austrailian-paper-bark
Stunning ~ so much handiwork and well done. Now will you wear it and where to? It is a beautifully beaded dress sure to get compliments.
Thank you very much! Yes, I have the occasion to wear it as well. In June, me and my husband will be Godparents to a dear friend’s wedding in Romania. I will wear this dress for the religious celebration and I also have a long beaded dress (bought as such) for the evening. As you can imagine, I will be very proud to wear the dress I have embellished myself!
So elegant and beautiful!! Love it ❤
Thank you so much, Lucy! Have a wonderful week-end!
Very beautiful ! Nobody will have the same dress. I have a question can you wash the dress with the flower on it ? Have a very nice day ! Friendly. Lise.
Hello Lise! I am glad you liked the embellished dress. My sister asked me the same thing: I think I will have to wash it by hand and carefully (the polymer clay is very resisting, but I am thinking of the beads and the sewing thread). The flower is varnished, the water could not damage the colors, yet I think it’s better to be careful when washing it. A wonderful day to you too! Best wishes! Mihaela
Many thanks for the answer Mihaela. Many thanks for the answer Mihaela. Be carefull with your dress it will be sad to damage it ! Have a nice week-end. All the best to you. Lise.
I will, Lise, I like it too very much! Have a wonderful week-end! Take care! Mihaela
extremely adorable … 🙂 love it
Thank you so much for your wonderful comment! Best wishes! Mihaela
Someone said it, elegant. Your work is a visual treat and always enjoy the process.
Thank you so much, Mary! I wanted to reply to your question: http://oilpastelsbymary.com/2015/05/05/15-painting-challenge-flowers-collage-of-paintings/ But it’s hard to have a favorite, because I love all of them! 15 wonderful paintings! Wow!
Thank you so much for your beautiful comment! Have a wonderful weekend.
Wow…this is very creative!
Thank you so much! Have a marvelous day! Mihaela
Wow, this one is really amazing Mihaela, like you just got a new dress 😀
Thank you very much, dear Irene! I had this idea in mind for some time and I finally managed to put it into practice and I was also happy with the result. I think I shall look again into my closet and find things that I could “upgrade”. It would be fun!
Remember to show us your next idea 😀
Dear Irene, thank you for encouraging me! I had a conflictual situation in my life that affected me more than it should have. It seems that I need peace of mind to just sit at my working table (which I could not do for more than a week, this never happened to me before). Luckily I feel much better now, I am once again full of energy and ideas and I am preparing my 27th post. I can’t tell you how glad I am that I regained my faith: in life, in creativity, in possibilities…. Have an amazingly creative day! Mihaela
Dear Mihaela. I’m happy to read, that you are doing better again. If you like to, you can find my email address at my blog and send private message.
I wish you a wonderful and creative day 🙂
Irene
Dear Irene, I am very glad to know that I can write to you in those moments when I need advice or encouragement from another artist (who is also am amazing person). Thank you so much for your trust! Have a wonderful day! Mihaela
Dear Mihaela, you are very welcome and will have my private email in return. Irene
autentic si real talent de-a creea FRUMUSETE… admiratie si respect, Mihaela! salutari toulousene însorite, succes si satisfactii, azi si mereu… amicale gânduri, Mélanie
Multumesc din suflet, Mélanie, pentru vorbele frumoase care m-au facut sa zambesc si ma bucur pentru aprecierea pe care o primesc si pentru care sunt recunoscatoare! / Merci du fond de mon cœur, Mélanie, pour tes gentils mots qui m’ont fait sourire et pour toute cette appréciation dont je suis très reconnaissante! Amitiés, Mihaela