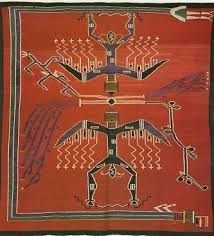
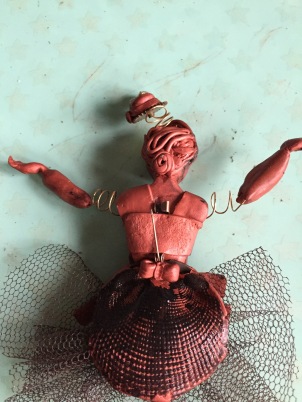
It’s that time of the month. Time for me to show you how I was inspired by ArtBeadScene’s August Challenge image (and this before it’s too late). I can’t say that I resonated particularly with this months’ inspiration… And the more I thought about how to interpret the image, the brown background color made me think about Steampunk. I wanted to make a dysfunctional ballerina with hanging arms and legs (I had an image of strings bouncing in my head), but I haven’t anticipated the size very well, so I had to renounce of the idea of making legs as well (and the result is a statement brooch – yet wearable [ with a Steampunk outfit]).
This is the ArtBeadScene’s August Challenge inspiration:
I think that this is also to balance a little bit the too romantic look of my previous post (the wedding figurines). By the way, my friend kind of liked the design, yet she had in mind a more playful, less serious wedding figurines. It’s good that I had a feedback from her because now I know better what she had in mind and I will try to make something more playful (I hope to be able to do it). And now I feel that my Steampunk ballerina looks even sadder…. But there’s no time to even try to make something else, so here’s the saddest Steampunk ballerina you’ll probably ever see (not so happy with the face of the design, yet I like the back of it, but being a brooch, you don’t get to see the back….).
Materials and tools used: copper metallic polymer clay, scrap clay (that I rolled through the pasta machine until it ended up to be gray), an Oyumaru mold, black acrylic paint, varnish, wire, a craft knife, tull fabric, clock gears, stamps, the ball tool, a screw, an old brooch, an old pendant, a shell, round nose pliers and cutting pliers, a beading needle, a toothbrush, a pasta machine.
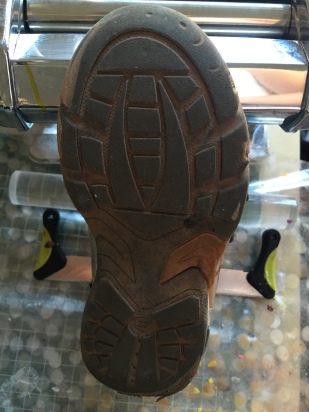
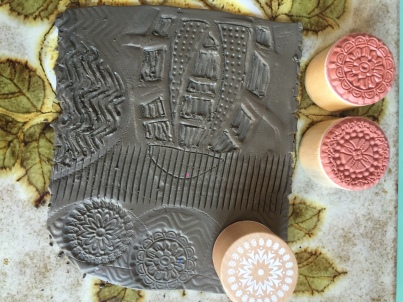
The first thing I did was to create a texture plate. I had this idea in my mind to use the soles of my son’s worn out shoes to create texture plates. And I wanted to put it into practice before I would forget about it. So I took some interesting shoe soles and I imprinted them into a conditioned sheet of polymer clay.
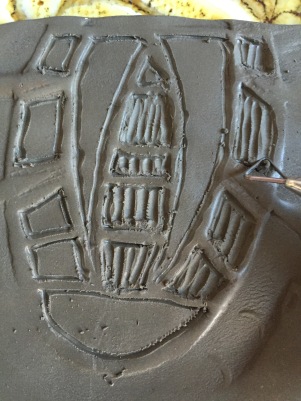
I started to contour some more the pattern.
I carved it a little.
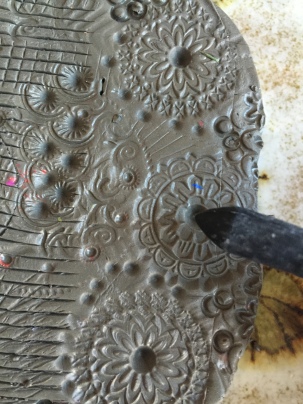
I made dots with the ball tool.
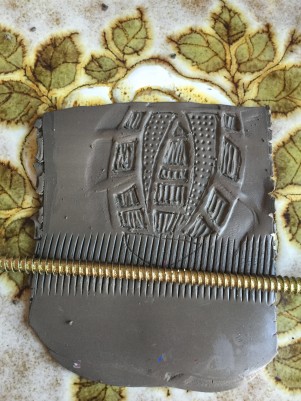
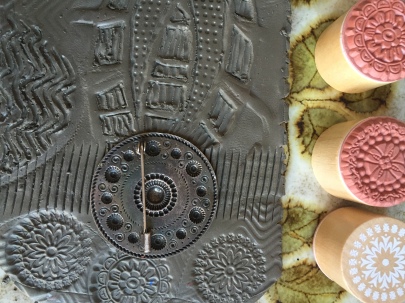
I continued to texture the plate using a screw.
I went looking for more interesting textured soles. I did not clean it up much before using it, luckily this did not affect my gray polymer clay plate.
I impressed it into the plate. Then I deepen the lines a little bit more.
And some finishing touches:
Then I baked it according to the manufacturer’s specifications. When finished, it looked that this.
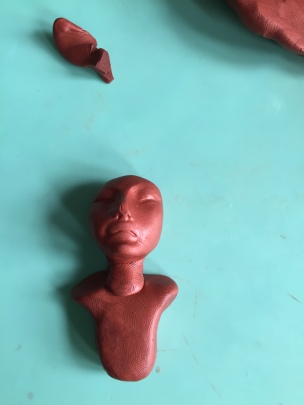
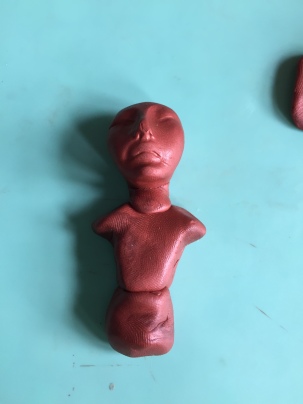
Now we can turn to the Steampunk ballerina. For the face I have used the same mold that I used for the wedding figurines (https://michellemaya2005.wordpress.com/2015/08/23/never-say-never), but this time I did not work much on the face, I kept its original look – thinking that it went well with my imagined ballerina.
I kept only the face. I added a little log for the neck and a trapezoid piece for the upper part of the bust.
I added a new log for the waist, then blended the pieces together.
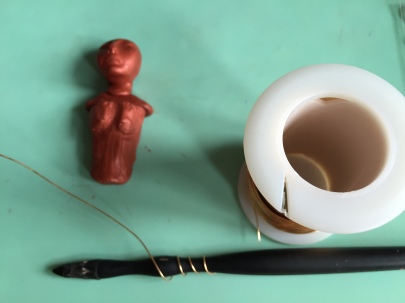
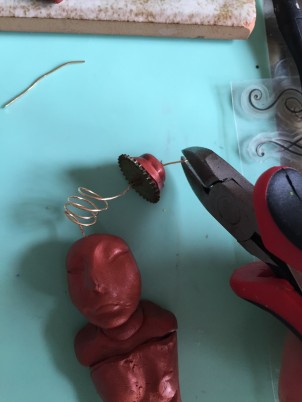
I am preparing the wire to attach the hat.
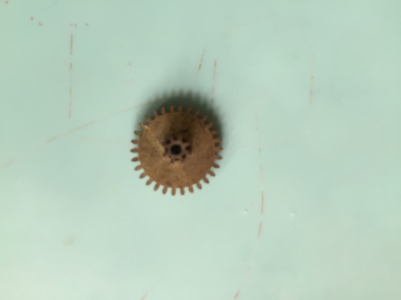
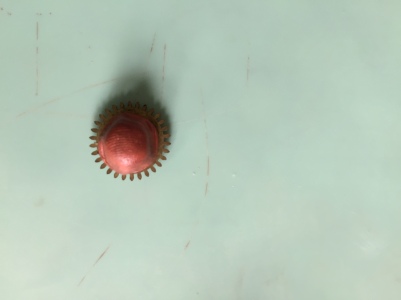
I made the had using a clock wheel and polymer clay. I pressed a ball of polymer clay onto it and then flattened the upper part).
I rolled a thin rope of polymer clay and flattened it using the body of my ball end tool. This would be the ribbon for the hat.
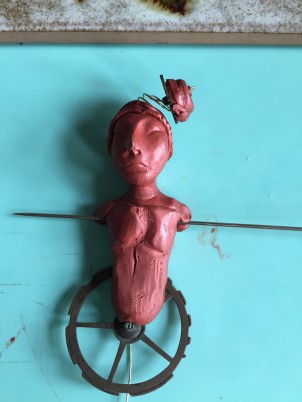
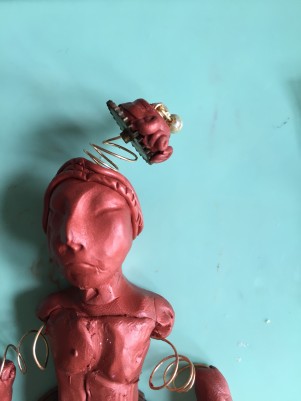
I put a long beading needle through the head and the bust, then I passed the wire through this hole and inside the hat as well.
I used the cutting pliers to cu the extra wire and the round nose one to make a loop.
I rolled some thin polymer clay ropes and attached them to the head to make the hair.

I prepared the larger clock wheel for the “crinoline”. I passed it through the wire.
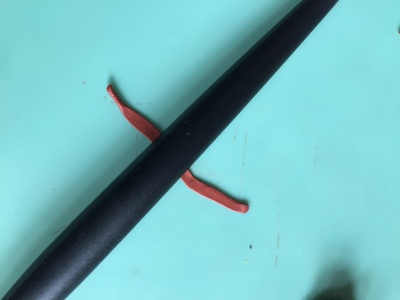
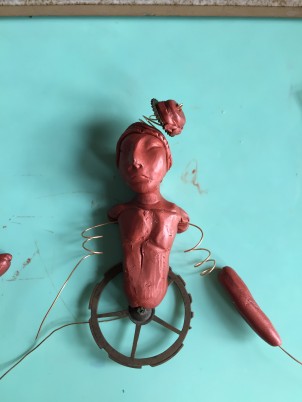
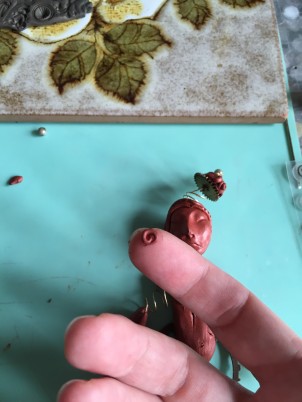
I passed the beading needle from right to left to make a hole to attach the arms with the wire. I made two logs for the armed and passed the wire through each one.
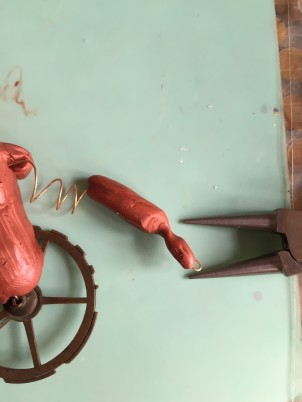
I modeled the wrist a little bit and finished the wire with a wire loop.
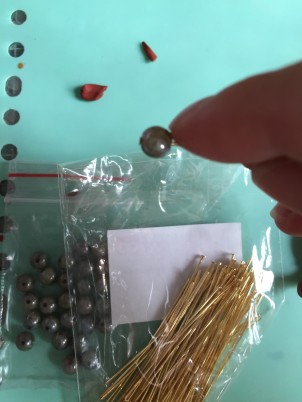
I attached two beads to the hat. I put the bead on the pin, cut the extra wire and used the round nose pliers to make a loop.
I rolled 3 little flowers to use them to embellish the hat.
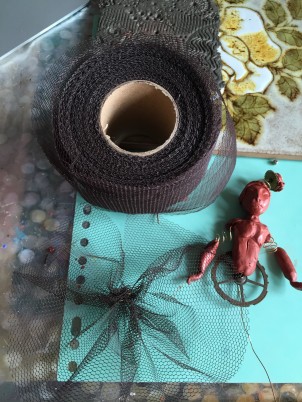
I prepared a tull skirt using tull fabric and wire (in the same way I would use a needle and thread to make a little tull skirt).
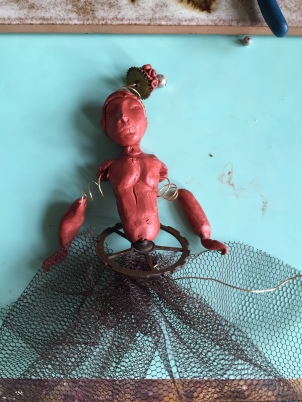
I used wire to attach the tull skirt to the clock gear.
I used a shell to texture a thin sheet of polymer clay.
I cut pieces of it to attached them over the “crinoline”.
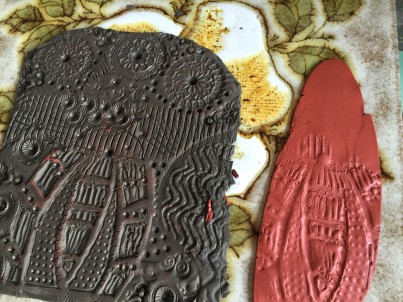
I am preparing the upper “armour” in a kind of Artemis Goddess outfit. This is where the texture plate comes into play (in case you were wondering what happened to the texture plate).
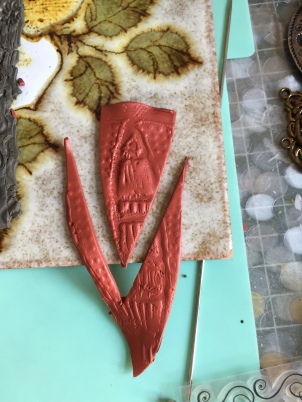
I used the texture plate to get an interesting pattern into polymer clay.
I cut a triangle shape and I further adapted the length.
After attaching the polymer clay slices, it looked like this. I decided to shorten the length of the skirt.
I coated the back with slices of polymer clay.
I pressed the brooch finding into clay (I haven’t used any Liquid Fimo, but it’s not a bad idea to use some).
I secured the brooch finding adding a rectangular piece of polymer clay. I textured it with a toothbrush.
I made the back of the skirt using the same technique (texturing with the shell).
I added a little bow.
I baked it in the oven according to the polymer clay manufacturer’s specifications.
After cooling, I painted it with black acrylic paint and then removed the paint with baby wipes.
Well, that’s it! Thank you for reading my post and for appreciating my work!
My best to you,

























Wow – I can’t imagine working that small and getting such exquisite detail. Great work!
Thank you very much! I loved the end result of your “Look again” artwork! https://jenibate.wordpress.com/2015/08/04/looking-again/ Best wishes! Mihaela
You are doing magic! 🙂
Thank you so much, Inese! You are doing magic with your camera! The photos of the foxes are really amazing and soul touching! http://inesemjphotography.com/2015/08/04/all-creatures/ Have a wonderful day! Mihaela
Thank you Mihaela! There is a wonderful man behind the foxes, and he is an inspiration 🙂 Have a wonderful day you too!
You are right and you can see that in his eyes. I think it is a wonderful thing to rescue animals like he does! http://inesemjphotography.com/2014/07/26/fox-news/ Best wishes! Mihaela
Great project! I enjoy viewing how it’s done!
Vivienne X
Thank you, Vivienne! It’s always a joy to admire your fabulous outfits and to read you! Best wishes! Mihaela
Awww.., you are very kind to say that dear Mihaela! X X
We share the same passion for beautiful things (fashion, architecture, photography) and, of course, Paris! Thank you for your wonderful words, Vivienne! My best to you! Mihaela
Sending you love from Sydney. :-*
I received it here in Thionville (North of France) and I am sending the same blissful emotion back to you:*
:-* :-*
This one is so very special and detailed Mihaela. You have done a big job with so many small details. Great 😀
I am very happy to read your impressions, Irene! I must tell you that when the piece was finished, I had doubts about it! I thought it looked too sad. But I received such a wonderful feedback that made me very happy and also made me consider that maybe I was too critical about my work! Have a wonderful and creative day! Mihaela
You did a great job Mihaela and I think it is okay to be self critical, also a way to improve our creativity. Wish you a beautiful day 🙂
I think you are right, Irene! I wish you a wonderful day too! Mihaela
Nice interpretation of steampunk!
I love Steampunk and I think I should work more often on Steampunk ideas. Do you know my Steampunk inspired cuff? This is the link for it https://michellemaya2005.wordpress.com/2015/05/01/one-tutorial-a-day-for-31-days-day-23-of-my-journey-inspired-by-steampunk/ (In case you like Steampunk as I do). Best wishes! Mihaela
Your work is amazing. Thank you for sharing the process.
Thank you so much, Kathy! I loved your Beach Jewelry! Great work! http://bay-moon-design.blogspot.fr/2015/08/make-it-summer-year-round-with-beach.html Best wishes! Mihaela
Now you’ve got me checking all my shoes for texture patterns! I loved your creative process. The brooch is truly unique.
Thank you for sharing your thoughts with me! When making the texture plate, remember to press well the polymer clay into the shoe texture and after baking it, use it with a release agent (like baby powder) to be sure the polymer clay will not stick to the texture plate. You can add interesting textures from children toys (I always keep an eye on the texture of the plastic toys with which my son does not play anymore). I wanted to tell you that I loved your earrings made for the ArtBeadScene monthly challenge: http://lamplightcrafts.blogspot.fr/2015/08/august-art-bead-scene-challenge.html Best regards! Mihaela
Wow! Completely fascinating tutorial on how you made this really cool sculptural piece! I love the idea of making a texture plate that is yours alone, and that shoe idea is brilliant. I think I will have to try making a texture plate of my own! Thank you for sharing your talents with the world and joining in the Art Bead Scene! Enjoy the day. Erin
Dear Erin, I was very happy to read your wonderful comment! Thank you! I recognized immediately the name of your company “Tesori Trovati” because I admire a lot your work and I am in love with your art beads (Frida’s Triumph http://www.tesoritrovati.com/product/fridas-triumph-symbol-bead-series and Poppy Dreams http://www.tesoritrovati.com/product/floriography-august-poppy-dreams are among my all-time favorite art beads). It’s pure bliss when someone you admire appreciates your work! Mihaela
I really enjoy this piece and the post showing your amazing process! I also went back and looked at your steampunk inspired cuff. Love it!
I’m very happy that you liked the cuff too. That’s the first piece inspired by Steampunk that I managed to get “out” of my head, but it took time to find the courage to express these ideas. I loved your latest project (I also love irregular spike/dagger beads) and the color combination is amazing (I also consider copper and turquoise as a wonderful color combo). https://beadlove.wordpress.com/2015/08/30/struggling-with-irregular-beads/ Best wishes! Mihaela
Love your work. You are so over the top Fabulous!! Thanks for sharing the great tutorial.
Thank you for appreciating my work! It makes me so happy! I loved the result of the Dreaming Tree Challenge http://www.wingsandbeads.blogspot.fr/2015/08/dreaming-tree-challenge.html! Great work! Mihaela
What a big explosion of Art. So great and innovative. Huge!!!
My dear friend, I really can’t find the words to tell you how grateful I am for every wonderful comment that you write to me. My best to you! Mihaela
Thanks so much. Best wishes for you too. Bonsoir.
Beautiful piece Mihaela, and very creative! All your tutorial are you are doing very nice things 💗💗
Thank you, Carolina! I loved your idea to combine driftwood, copper, beads and shells! The result is wonderful! http://yesterdayafter.com/2015/09/28/new-design-memories-from-the-ocean/ Best wishes! Mihaela
🙂 ❤
Hugs! Have a wonderful day!
Same to you! ❤