
Hello dear friends!
How are you doing?
I hope you’re fine too. We’re starting to have more sunnier days, but we’re still waiting for warmer day in the part of France where I live.
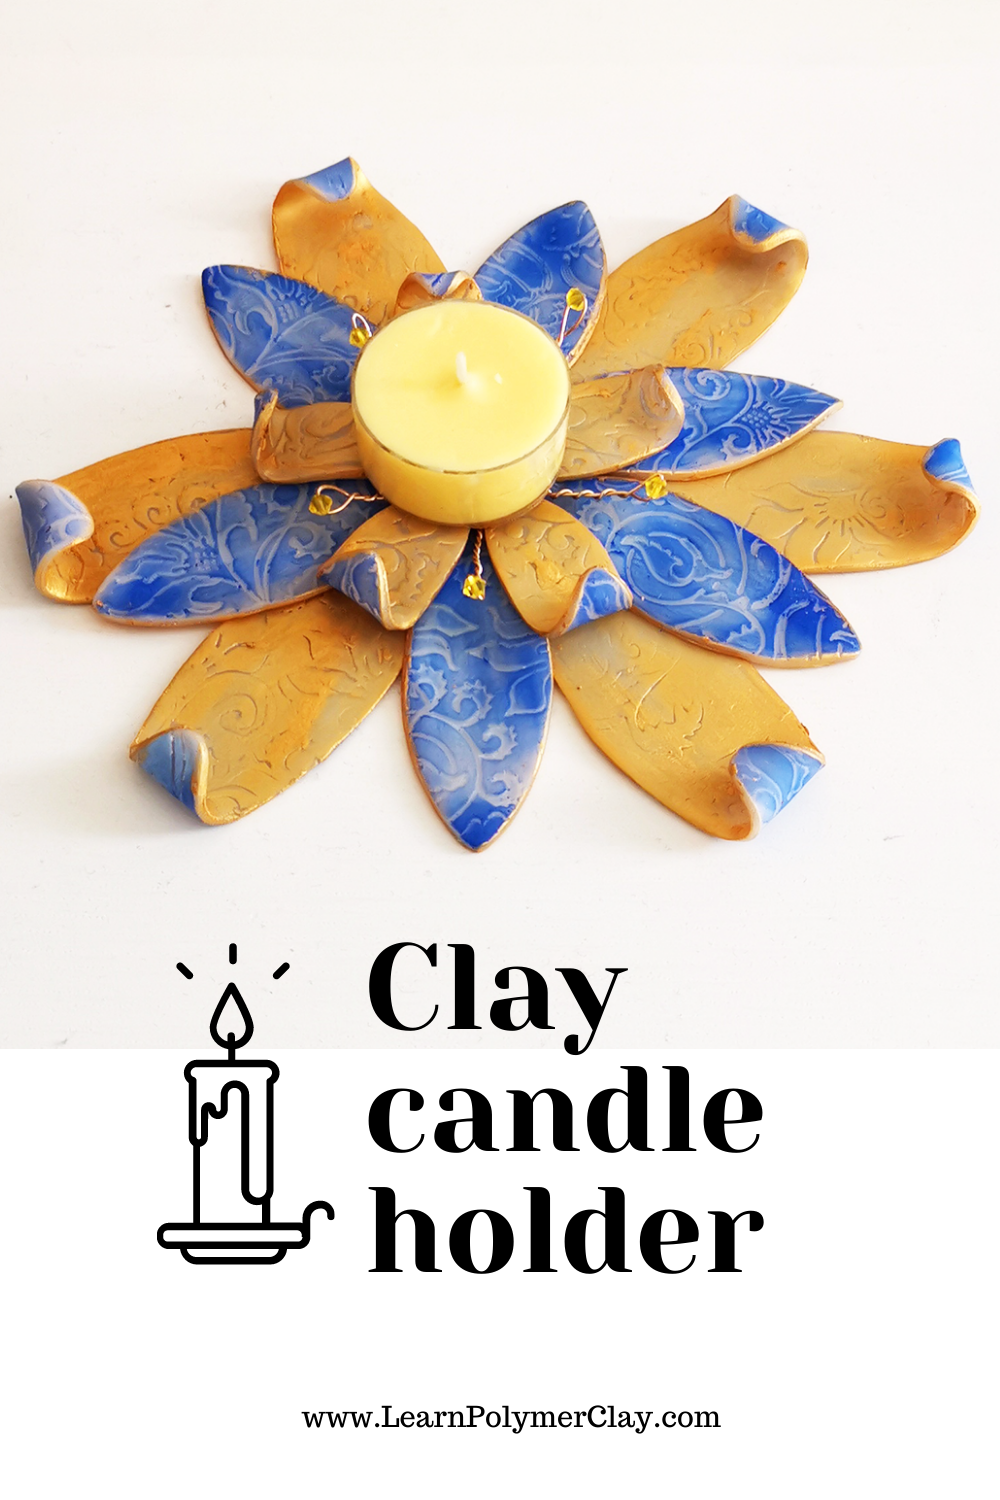
For today I have prepared a photo tutorial for the step-by-step process for making a fancy clay candle holder. Like the one in the image. Or you can adapt it to your vision and make your dream clay candle holder. Anyway, it’s an item that you’ll really enjoy using. Not to mention that it could make a great handmade gift for someone special in your life.
I mean it’s pretty elegant because we’re going to use gold metal clay, gold color wire and some elegantly looking yellow Swarovski crystals.
Here’s the complete material list with the materials and tools:

- I started by properly conditioning the polymer clay. I’m working with Cernit Opaline, which is a type of clay in between translucent clay and normal white clay. So the resulting piece will have a slightly translucent effect.
- I passed the clay through the setting no. 3.
- I used a beautiful embossing folder to texture the clay (back and front in the same time).

I’m going to use 3 graduated sizes of petal shaped cutter to make the petals. I’ve made 6 petals for each size.


I passed the rest of the clay through the setting no. 2 of my pasta machine. I again used the same embossing folder to texture the back and front of the piece. I used a 6 cm round cutter to cut out two pieces that I intend to use for the base on which I’m going to apply the petals while the second one is going to be the support for the candle.

I used gold color metal wire and Yellow Swarovski bicone beads to make wrapped embellishments for the fancy candle holder. I prepared 6 such embellishments.

I used blue Pan pastel to color one of the two round pieces.

I then flipped the piece on the other side and used it as the base on which I would apply the petals.
For the second round piece, I used a Create Along coin stencil and pan pastel to color it. You’ll find plenty of beautiful such coin stencils on the CreateAlong.com site.


Then I colored the front of the petals with Ultramarine blue Pan Pastel. I applied the pastel using my finger, but you could use a pastel applicator.

I colored the back of the petals with Gold metal wax. I colored the sides of all the pieces with gold metal wax as well.

I applied the first row of petals on the round base. I pressed them well into the clay. Consider putting some liquid clay under the petals for better adhesion. Normally raw clays sticks to raw clay, but the coloring agents on top of the clay would make the clay less sticky.

I applied the second row of petals with the blue on top this time.

I added more liquid clay and I added the third row of petals, with the gold color on top.

Then I inserted the wrapped embellishments. I added more liquid clay as well.
I used a smaller round cutter to cut a smaller piece for the center of the candle holder.

To make the piece even more interesting, I curled a little bit the end of petals from the base row of petals (meaning the largest ones).

Then you’ll just have to bake the piece for 50 minutes following the polymer clay manufacturer’s recommendations. I tent my pieces to prevent them from direct heat. I also bake my pieces on parchment paper to prevent a glassy unaesthetic look on the back.
You’ll just have to put a candle in the middle and you now have your beautiful, fancy candle holder for special occasions or for your pure enjoyment.

Of course you can tweak this techniques and use them to make beautiful clay earrings and clay components.


For the more details, I invite you to watch the video tutorial on my Youtube channel.
Have a great day and happy claying!
Mihaela
If you liked my tutorial, I invite you to check out my free mini class on how to use molds to make your own custom tools for clay (stamps, texture sheets, 3D elements, etc) here: Free Polymer Clay Mini-class – Learn Polymer Clay


This clay candle is so beautiful! I love the blue and gold color combo and the curled accent you added to some petals. Thank you for sharinging!
Thank you very much, Blanca, for appreciating this candle holder. I also like it very much. It turned out even better than expected. Have a beautiful and inspired day!
Beautiful!!
Thank you, Christy! Have a beautiful and blessed day!
You too!
Thank you, Manuela! It’s such a joy for me to see my clay inspiration shared with even more people. Have a beautiful and blissful day!
You are so creative, Mihaela. I adore the colours!
xoxoxo
Thank you very much, my dear Carolyn, for your message and for appreciating this clay holder. It means a lot to me. Have a beautiful and blissful day! 💖
xoxoxo
Hugs!